How to Photograph Contents So the Carrier Doesn't Push Back
Quick answers
- What photos does an insurance adjuster need for a contents claim? For significant items, an adjuster needs an establishing shot, a close-up of the make/model/serial number, and a close-up of the actual damage — enough to confirm the item exists, its condition, and whether it's restorable.
- Why do serial numbers matter in contents damage photos? A serial number lets the adjuster look up the exact unit and price the replacement without guessing, which removes the most common reason carriers push back on an electronics or appliance line item.
- How many photos should you take per damaged item? Three to four frames per significant item — an establishing shot, an identity shot of the model/serial, a tight damage close-up, and a context shot showing where the damage sits on the item.
- Should you take wide shots or close-up photos of contents damage? Both, but they do different jobs — wide room shots establish the scope and contents load, while per-item close-ups are what actually win a disputed claim line.
- How do you avoid glare in contents damage photos? Move so the light rakes across the surface instead of shooting a direct flash straight at it — side lighting reveals texture, warping, and residue that a head-on flash washes out.
Every supplement fight I've ever lost started the same way: a photo that didn't prove what the line item claimed. The adjuster wasn't being a jerk. They just couldn't see it. A blurry wide shot of a living room doesn't tell them whether the leather sofa is cleanable or trash, and it sure doesn't tell them the model number on the back of a 75-inch TV.
Contents photos aren't a chore you knock out at the end. They are the evidence file. Done right, they close the gap between what your tech saw on site and what a desk adjuster three states away is willing to pay. Done wrong, they invite questions, and questions cost you days and margin.
Here's the photo discipline that keeps carriers from pushing back, built from actual pack-outs and the supplement battles that followed.
Shoot to answer questions, not to fill a gallery
The mistake most crews make is volume without intent. They dump 400 photos into a folder, feel productive, and then can't find the one shot that proves the dresser was swollen at the base from standing water.
Before you raise the phone, ask: what is the adjuster going to question about this item? Then shoot that. For a contents claim, the carrier is deciding three things on every belonging:
- Does it exist, and does it belong to this loss?
- What condition is it in, and is that damage from the covered event?
- Is it restorable, or is it a replacement?
Your photos exist to answer those three questions for every item that matters. If a shot doesn't move one of those needles, it's noise.
The per-item shot sequence
For anything with real value or any item you're calling non-restorable, run the same sequence so nobody has to wonder what they're looking at.
1. The establishing shot. The whole item, in frame, in the room where you found it. This anchors the item to the loss and the location before anything gets boxed.
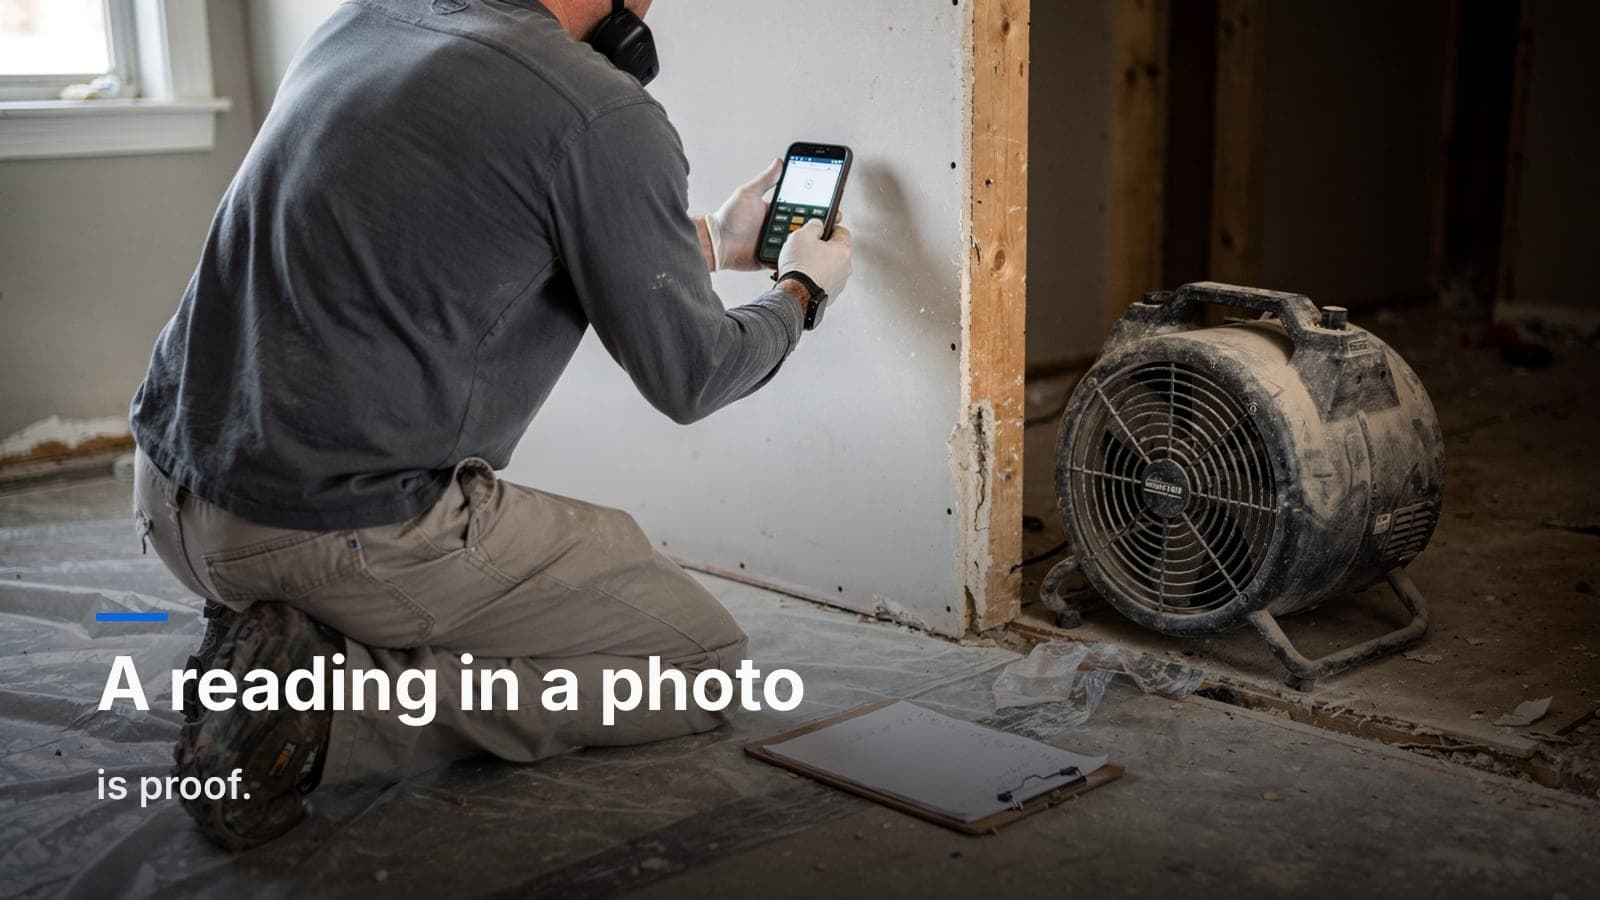
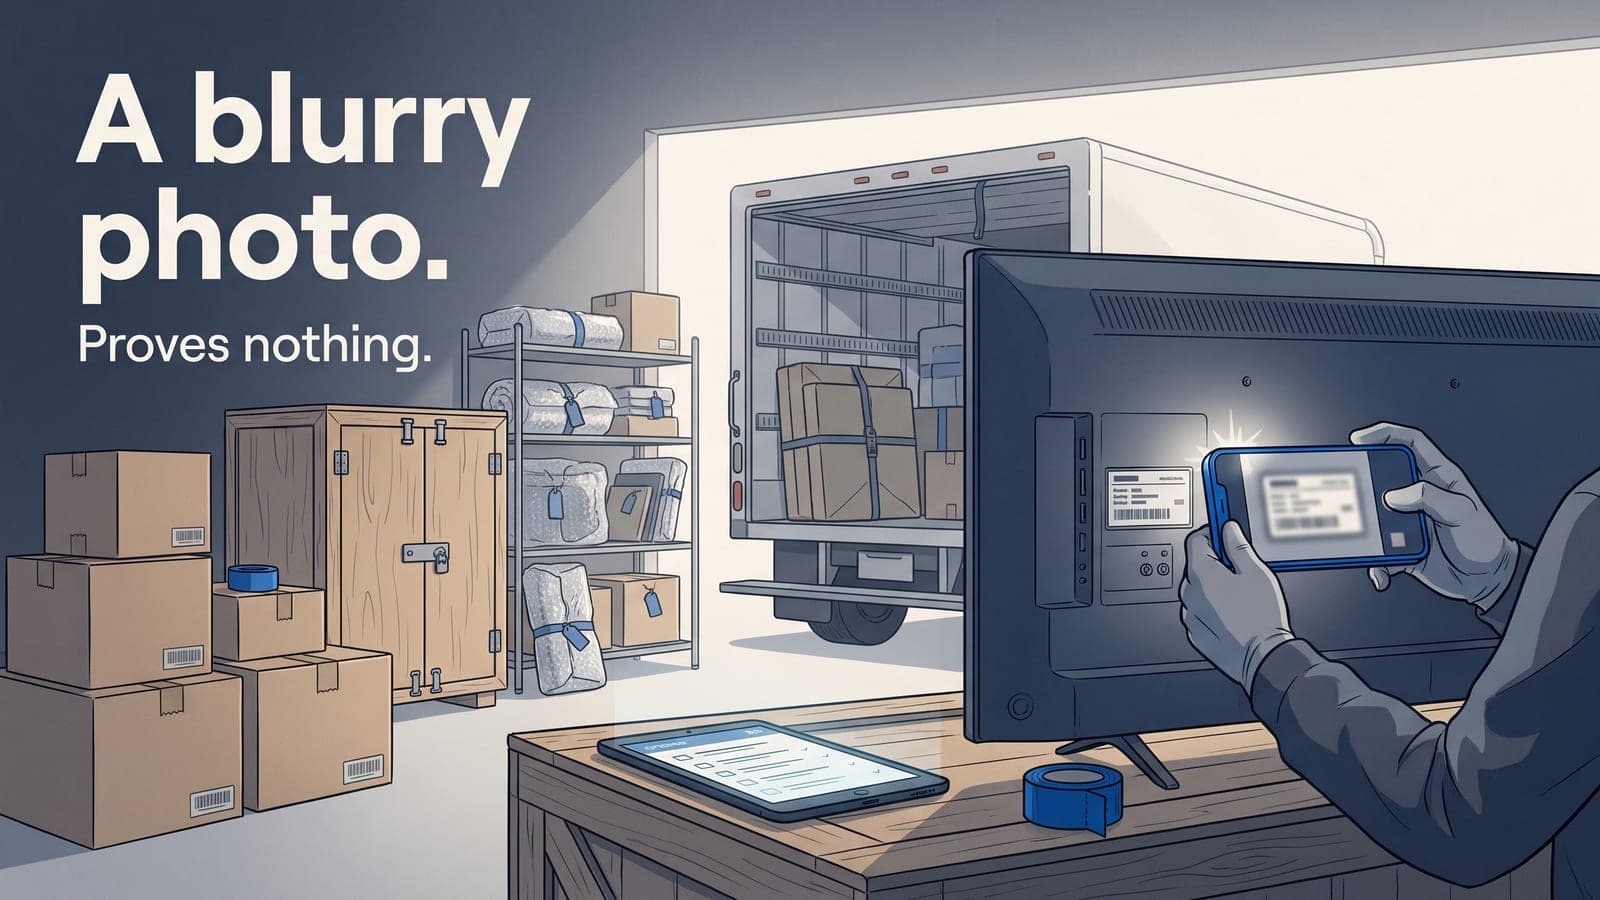
2. The identity shot. The make, model, and serial number. For electronics and appliances, that means the label on the back or bottom. For a TV, pull it forward and shoot the sticker. This single habit ends more "prove it" emails than anything else you can do. A serial number turns "an estimated TV" into a specific unit the carrier can price.
3. The damage close-up. Get in tight on the actual damage. Soot pattern, water line, mold growth, warping, delamination. One close shot that shows the failure, framed so it's obvious it's not just normal wear.
4. The context shot for the damage. Back up half a step so the close-up has a home. A macro of mold means nothing if you can't tell it's on the underside of the dining table.
That's three to four frames per significant item. It feels slow on item one. By item twenty your tech is doing it on autopilot, and you'll never sit in a supplement call wishing you had the serial number.
Wide shots still matter, just not alone
Before you touch a room, shoot it wide from two corners. That's your "before" and it establishes the scope and the contents load. It also protects you on the back end if a customer claims something went missing. Wide shots set the scene. Per-item shots win the claim. You need both, and they do different jobs.
Angles and light: the boring stuff that decides the photo
A great photo and a useless one are often the same item shot two feet apart.
- Kill the glare. Soot on a glossy surface and water rings on a wood table both disappear under a direct flash. Move so the light rakes across the surface instead of bouncing straight back. Side lighting reveals texture, warping, and residue.
- Fill the frame. If the damage is 10% of the photo, crop with your feet before you shoot, not after. The adjuster shouldn't have to pinch-zoom to find what you're charging for.
- Shoot the worst case. When an item has several damaged spots, photograph the most severe one in tight, then a pull-back showing the rest. You're documenting the call you made, not under-selling it.
- Hold it steady. Blurry close-ups read as careless, and careless invites scrutiny. Brace your elbow, tap to focus, take two.
None of this is photography-school stuff. It's just refusing to shoot from the doorway and call it documentation.
Serial numbers and model tags are non-negotiable
I'll say it twice because it's the highest-leverage habit on this list. Capture the model and serial on every electronic, appliance, and anything with a manufacturer tag.
When you hand an adjuster a serial number, you've removed the argument. They can look up the exact unit, confirm the age, and price the replacement without guessing low and forcing you to supplement. When you give them "60-inch TV, unknown brand," you've handed them a reason to underpay and a reason to ask for more proof. Both slow your check down.
Tags hide. Look on the back, the bottom, inside the door, behind the kick plate. Spend the extra ten seconds.
Tie every photo to the item, on site
Here's where most documentation falls apart: the photos are fine, but nobody can tell which photo goes with which line on the inventory. You end up cross-referencing timestamps weeks later, and that's exactly the kind of mess that makes a pack-out inventory fail an audit.
The fix is to attach photos to the item at the moment of capture, not in a sort-everything-out session back at the shop. When the shot lives on the item record, the chain of custody is obvious: this box, this room, this item, these photos, this disposition. That's the structure a carrier can't poke holes in.
This is the whole reason we built the contents module around item-level records instead of a generic photo dump. Each box and item carries its own photos, condition, and disposition, so the evidence and the inventory are the same object. When you shoot the per-item sequence above, it lands where it belongs. And because the AI handles the auto-naming, descriptions, and item pricing, your tech can stay in shooting rhythm instead of stopping to type after every frame.
Document the disposition, not just the damage
The carrier wants to know what happened to each item, and your photos should follow it through the workflow. If you're calling something non-restorable, the photo has to justify that call on its own. A restorable-versus-non-restorable decision only holds up if the picture backs it.
- Non-salvage items: close-up of the damage that makes it non-restorable, plus the establishing shot. This is the one you'll defend, so over-document it.
- Cleanable items: condition on intake and, ideally, condition after cleaning. Before-and-after on contents cleaning is how you justify the labor instead of getting hit with "should've just replaced it."
- Pack-out items: photo at the item level so it's tied to the box and the room. When it comes back, you can prove it left and returned in the same condition.
If you want the field-level version of this, our room-by-room inventory checklist walks the sequence room by room.
A quick field checklist
Hand this to a new tech and you've covered most of what causes pushback:
- Two wide shots per room before you touch anything.
- Establishing shot, identity shot, damage close-up, context shot for every significant or non-restorable item.
- Model and serial on every electronic and appliance, no exceptions.
- Rake the light to kill glare; fill the frame with the damage.
- Attach photos to the item on site, never in a back-shop sort.
- For non-salvage, shoot the proof that justifies the call.
The payoff
Carriers push back when they can't see what you're charging for. Tight, intentional contents photos remove the doubt, and the supplement fights that eat your week mostly stop happening. The discipline costs a few extra seconds per item on site and saves you hours of email later. That's a trade worth making on every loss.
Frequently asked questions
Should you photograph an item before or after cleaning?
Both when possible — photograph condition on intake and again after cleaning, since before-and-after photos are what justify the cleaning labor on the invoice.
Where should photos be taken on appliances and electronics to find the serial number?
Check the back, the bottom, inside doors, and behind kick plates — model and serial tags are often hidden in spots crews skip in a hurry.
What should you photograph for an item you're calling a total loss?
Over-document non-restorable items specifically — a close-up of the damage that justifies the call plus the establishing shot, since that's the line item most likely to get questioned.
Do contents photos need to be tied to a specific inventory line?
Yes — a photo that can't be matched to the item it documents is close to useless weeks later, which is why photos should attach to the item record at the moment of capture, not sorted afterward.
Can better photo documentation reduce contents supplement disputes?
Tight, intentional photos remove the doubt an adjuster would otherwise have to question, which is what actually cuts down on supplement fights and the days they add to a claim.
If you want your photos and your contents inventory to live in the same place so the evidence and the line items never drift apart, start a free trial and run it on your next pack-out. Questions about your workflow? Email us at sales@jobworkflowpro.com and we'll talk shop.