Mold Remediation Documentation That Holds Up
Quick answers
- What is mold remediation documentation? It is the running record of a mold job — scope, containment setup, moisture readings, photos of every stage, disposal, and post-remediation clearance results — that proves the work was done correctly.
- Why does mold documentation matter? If a customer, attorney, or third-party hygienist questions the job later, your photos and logs are the only thing standing between you and a callback or a claim denial.
- What is clearance testing documentation? It is the record of a post-remediation verification — usually a third-party inspection and air or surface sampling — showing the affected area passed before you closed the containment.
- Do I need a third party for clearance? For anything beyond a small isolated job, yes — an independent clearance carries far more weight than a self-check, especially if there's a health complaint on file.
Mold work lives and dies on documentation. Not because the work is hard — most of us can build containment and run a negative-air machine in our sleep — but because mold is the one loss type where somebody almost always circles back later. A tenant with a cough. A buyer's home inspector. An attorney fishing for a liability angle. When that happens, nobody cares how good your containment looked in person. They care what you can prove.
So the goal isn't to take a few pretty photos. The goal is to build a record that answers every question before it's asked. Here's how I run mold job documentation so it holds up months down the road.
Start with a scope that names the problem
Before anyone suits up, your mold remediation scope should read like a plan, not a guess. Name the affected areas by room. State the square footage of visible growth. Note the moisture source and whether it's been corrected — because remediating mold without killing the water source is just scheduling your own callback.
Tie the scope to a standard. Whether you're working to the IICRC S520 or your state's licensing rules, say so in writing. When you write "Condition 2 and 3 contamination in the master bedroom and adjacent bathroom, containment per S520," you've set the bar you'll be measured against, and your later photos should show you cleared it.
If there's a water source behind the mold, document the category the way you would on any water loss. Water damage category drives a lot of your handling decisions, and a clean-looking Category 1 leak that sat for two weeks is a very different scope than what shows on the surface.
Photograph containment before you touch anything
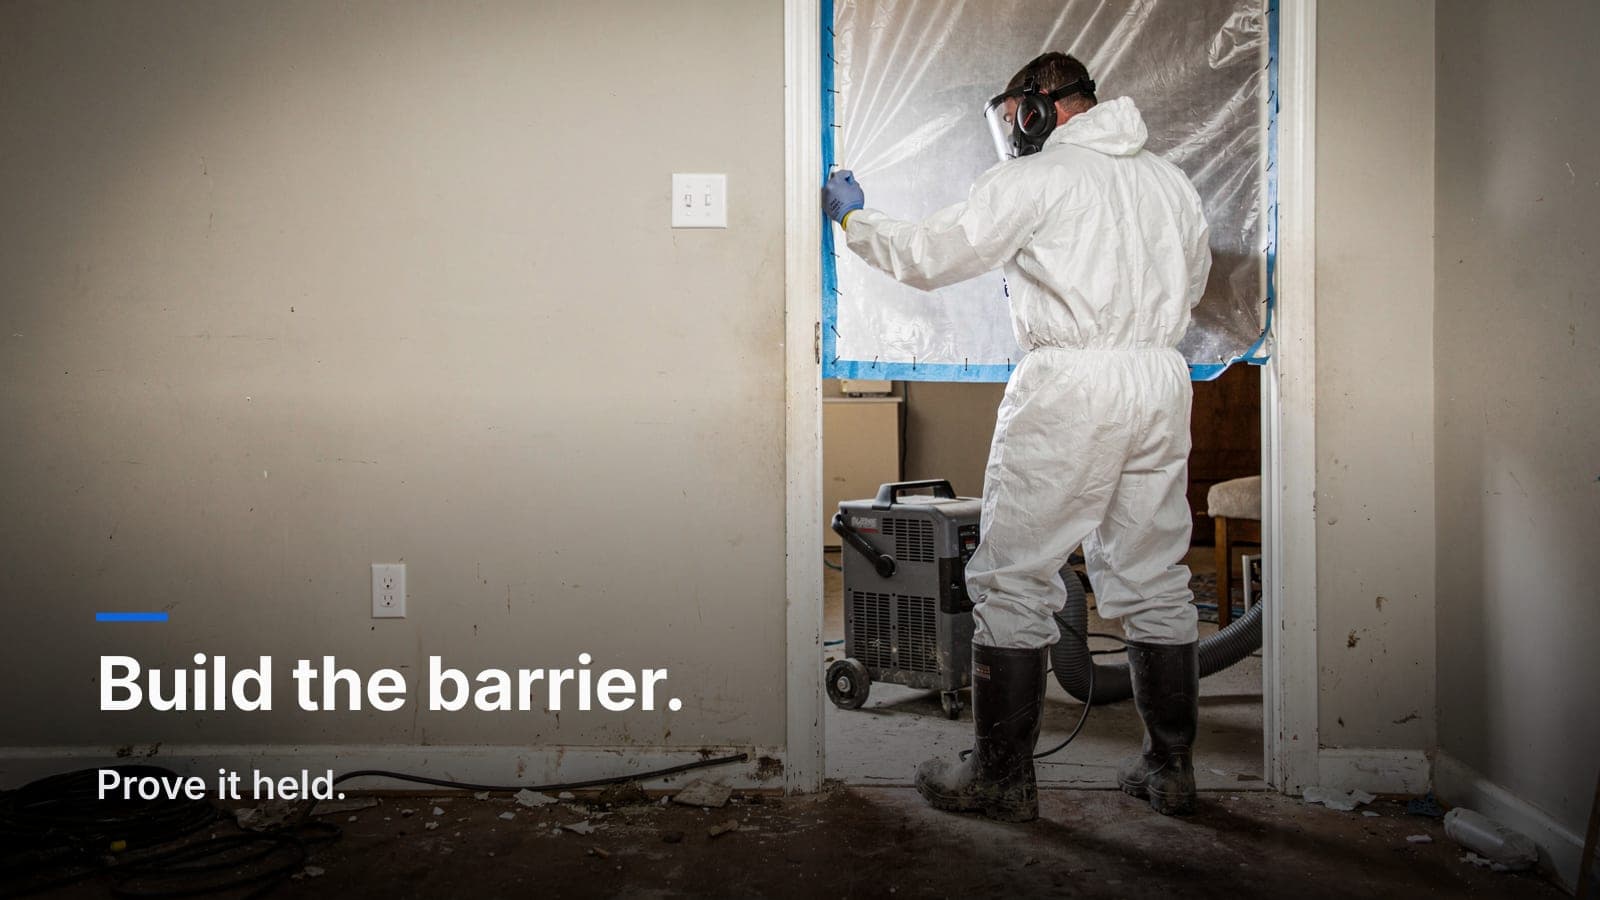
Containment is the part reviewers zero in on, because it's the part that's easiest to skip and hardest to fake after the fact. Shoot it before you start scrubbing.
I want photos of:
- The 6-mil poly sealing every opening — doorways, HVAC returns, gaps.
- The negative-air machine running, with the exhaust ducted where it belongs.
- A pressure reading or manometer showing negative pressure inside the containment.
- Any critical-barrier decon chamber if the job calls for one.
Take the containment shots wide enough to show the whole barrier, then a tight shot on the seams. If a hygienist later argues spores migrated to the hallway, a timestamped photo of intact poly and a running negative-air machine is your answer. Verbal assurances are not.
Document the affected material stage by stage
This is the "before, during, after" discipline, and mold is where it earns its keep. For every affected room:
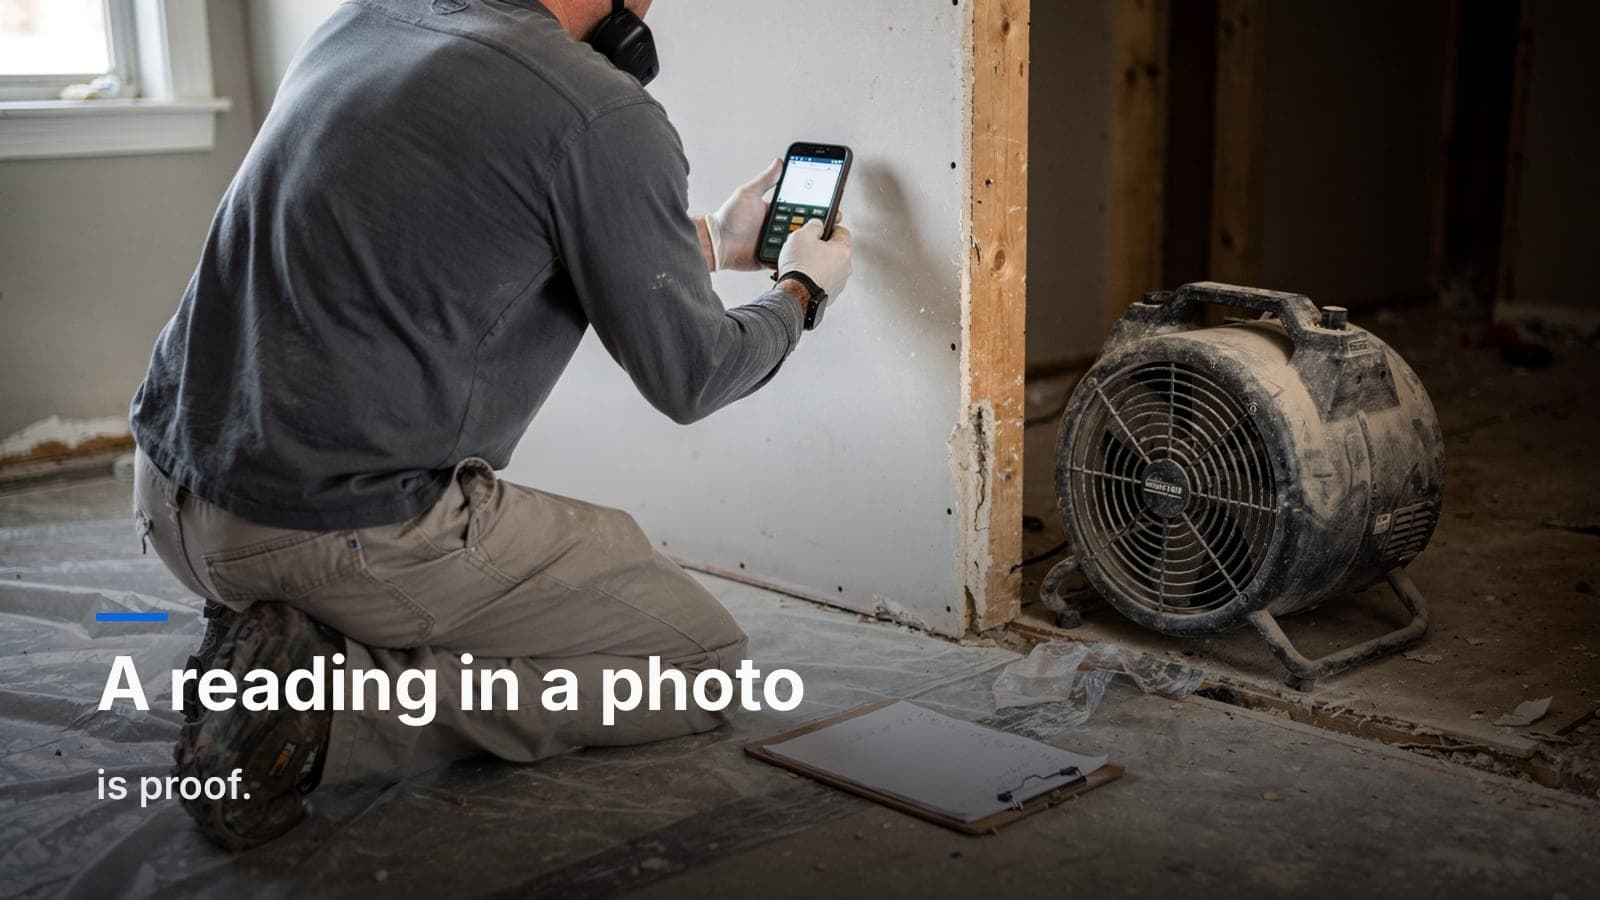
- Before: wide shots showing extent of growth, plus close-ups of the worst areas with a reference for scale.
- During: demo in progress, the substrate exposed once contaminated material comes out, HEPA vacuuming and wipe-down underway.
- After: the same angles, cleaned, showing you removed what the scope said you'd remove.
Match your after photos to your before angles. Reviewers trust a job far more when they can see the same corner cleaned up in the same frame. Same discipline restoration pros use to keep the carrier from pushing back on contents — shooting a clear, repeatable record beats photographing contents so the carrier doesn't argue, and the same rules apply here.
Log your moisture readings while you're at it. If the mold rode in on a wet cavity, your drying log proves the substrate came down to a dry standard before you closed up. Moisture mapping and drying logs that tie to specific readings back your scope the same way they do on a straight water loss.
Track disposal and the details that get forgotten
Bagged contaminated material, double-bagged and HEPA-wiped before it left containment — photograph it. Note how much came out. If the job required a licensed disposal facility, keep the manifest with the job record.
The small stuff that gets forgotten is what sinks you later: the date the water source was corrected, who authorized the additional demo when you found more growth behind the vanity, the change to scope when the wall opened up bigger than expected. Every one of those belongs in the job's threaded notes with a photo attached, not in your head and not on a sticky note in the truck. If you find yourself chasing loose scope changes across texts and emails, that's the same problem change orders that protect your margin solve — get the deviation approved and logged when it happens.
Clearance testing documentation is the finish line
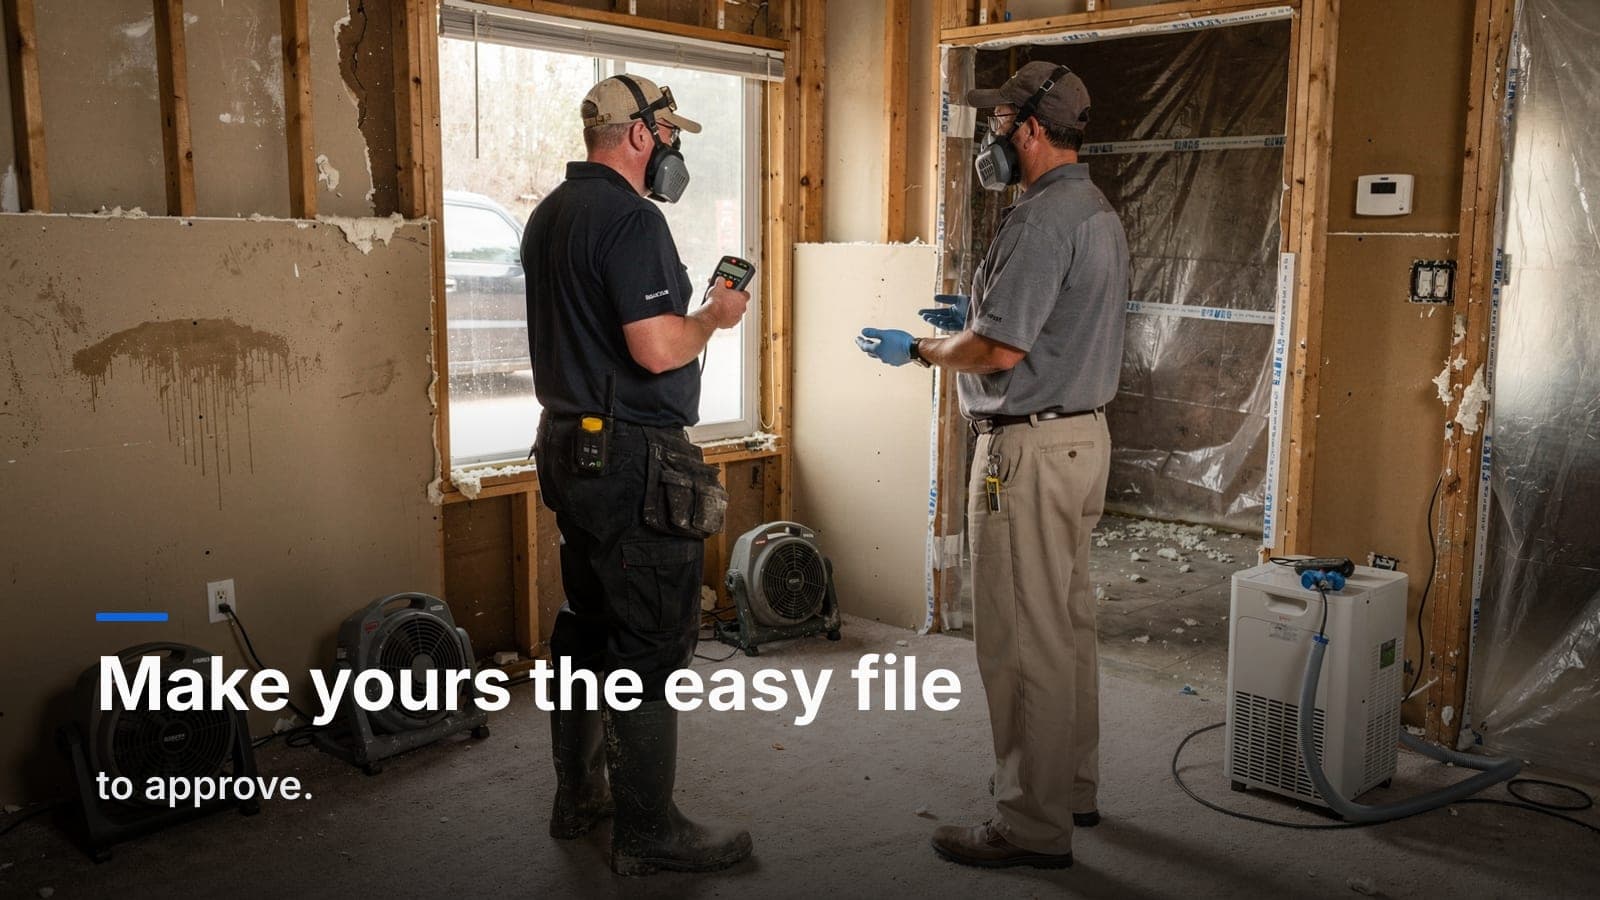
Here's the part people rush, and it's the part that matters most. You do not certify your own clearance on a job of any size. Bring in an independent hygienist or environmental firm to run the post-remediation verification. Your clearance testing documentation should include:
- The third party's report, in full, with sample locations and results.
- Air and/or surface sampling data compared against outdoor or unaffected control samples.
- The pass condition stated plainly.
- Photos of the area at clearance, containment still intact until the verification came back clean.
Do not tear down containment before clearance passes. If it fails, you're re-cleaning inside a barrier that's already broken and re-testing from scratch. Wait for the number.
Keep the clearance report attached to the same job record as your scope, containment photos, and drying logs — not in a separate email thread and not on somebody's desktop. When a question comes in eight months later, you want to pull up one job and see the whole story in order: scope, containment, work, disposal, clearance. One record, start to finish.
Keep it on one job record
The reason mold documentation falls apart isn't laziness. It's that the pieces scatter. Photos on a tech's phone, the clearance report in email, the scope in a Word doc, the moisture log on paper in the van. When you need it, you can't assemble it fast enough, and a half-built record looks worse than no record.
Run the whole job — scope, notes, photos, documents, clearance report — attached to one job number with a status you can track. That's the entire point of putting insurance restoration job tracking with claim number, carrier, and adjuster on the same record as the field documentation. The person who does mold well isn't the one with the best containment photos. It's the one who can produce all of them in thirty seconds.
Frequently asked questions
How long should I keep mold remediation records?
Keep them well past the job — several years at minimum, longer if there was a health complaint or any hint of litigation. Mold claims surface late, so storage on a live job record beats a shoebox of SD cards.
What's the difference between remediation and clearance?
Remediation is the work — containment, removal, cleaning, drying. Clearance is the independent verification that the work succeeded, done by a third party after the remediation is complete but before containment comes down.
Do small mold jobs need the same documentation?
Scale the effort, not the record. A small isolated spot may not need third-party clearance, but you still want before/after photos, the moisture source noted as corrected, and disposal logged — because "it was just a small one" is exactly the job that comes back.
What if the clearance test fails?
Re-clean the affected area inside the still-intact containment, address anything the report flagged, and re-test. Document the failure, the corrective work, and the passing retest. A documented fail-then-pass is far stronger than pretending the first test never happened.
If you're tired of assembling mold documentation out of five different apps every time someone asks a question, that's what we built JobWorkflowPro to fix — scope, photos, drying logs, and the clearance report all on one restoration job record. Start a free trial or reach out at sales@jobworkflowpro.com and we'll walk your workflow through it.