Restoration Photo Documentation: Best Practices That Pay
Quick answers
- What is restoration photo documentation? It's the running visual record of a loss — before, during, and after — that proves the conditions you found, the work you did, and why your scope is what it is.
- What photos does an adjuster actually want? Wide establishing shots of each affected room, close-ups of damage and moisture readings, category/source evidence, and matching after photos that show the work completed.
- When should I take water damage photos? Before you touch anything on day one, at every meter reading and equipment placement, and again when you demo, dry out, and pull equipment.
- How many photos is too many? There's no such thing as too many on the front end — the problem is unlabeled photos nobody can tie to a room, a reading, or a date.
- Do photos really speed up claim approvals? Yes. A scope backed by clean before/during/after photos and moisture data gives an adjuster less to question and fewer reasons to hold your money.
Every restoration pro has lost an argument they were right about. The moisture was there. The Cat 3 water was obvious on day one. The subfloor was shot. But six weeks later, when the adjuster pushed back on the scope, you didn't have the photo to prove it — or you had 400 photos in a camera roll and couldn't find the one that mattered. That's not a documentation problem. That's a system problem.
Good restoration photo documentation isn't about owning a nice camera. It's a habit and a filing system. Do it right and your water mitigation scope gets approved first try. Do it sloppy and you're doing the job twice — once in the field, once in email arguing with a desk adjuster who never saw the loss.
Why photos win claims
An adjuster is making a decision about a property they may never physically see, based on what you hand them. Your photos are the loss. If it isn't documented, as far as the carrier is concerned, it didn't happen — the wet insulation you bagged, the mold behind the baseboard, the reading that told you the wall was still holding water on day four.
Photos do three things at once. They establish the pre-existing condition so nobody blames you for damage that was already there. They justify the scope — every line item on your estimate should trace back to something the camera saw. And they prove the work so you can bill for it and defend it if the file ever gets audited. That last one matters more than people think; documentation that survives scrutiny is the difference between getting paid and eating the loss.
The three-phase rule: before, during, after
If you take one thing from this post, take this. Every affected area gets shot in three phases, and they have to match.
Before — establishing and detail
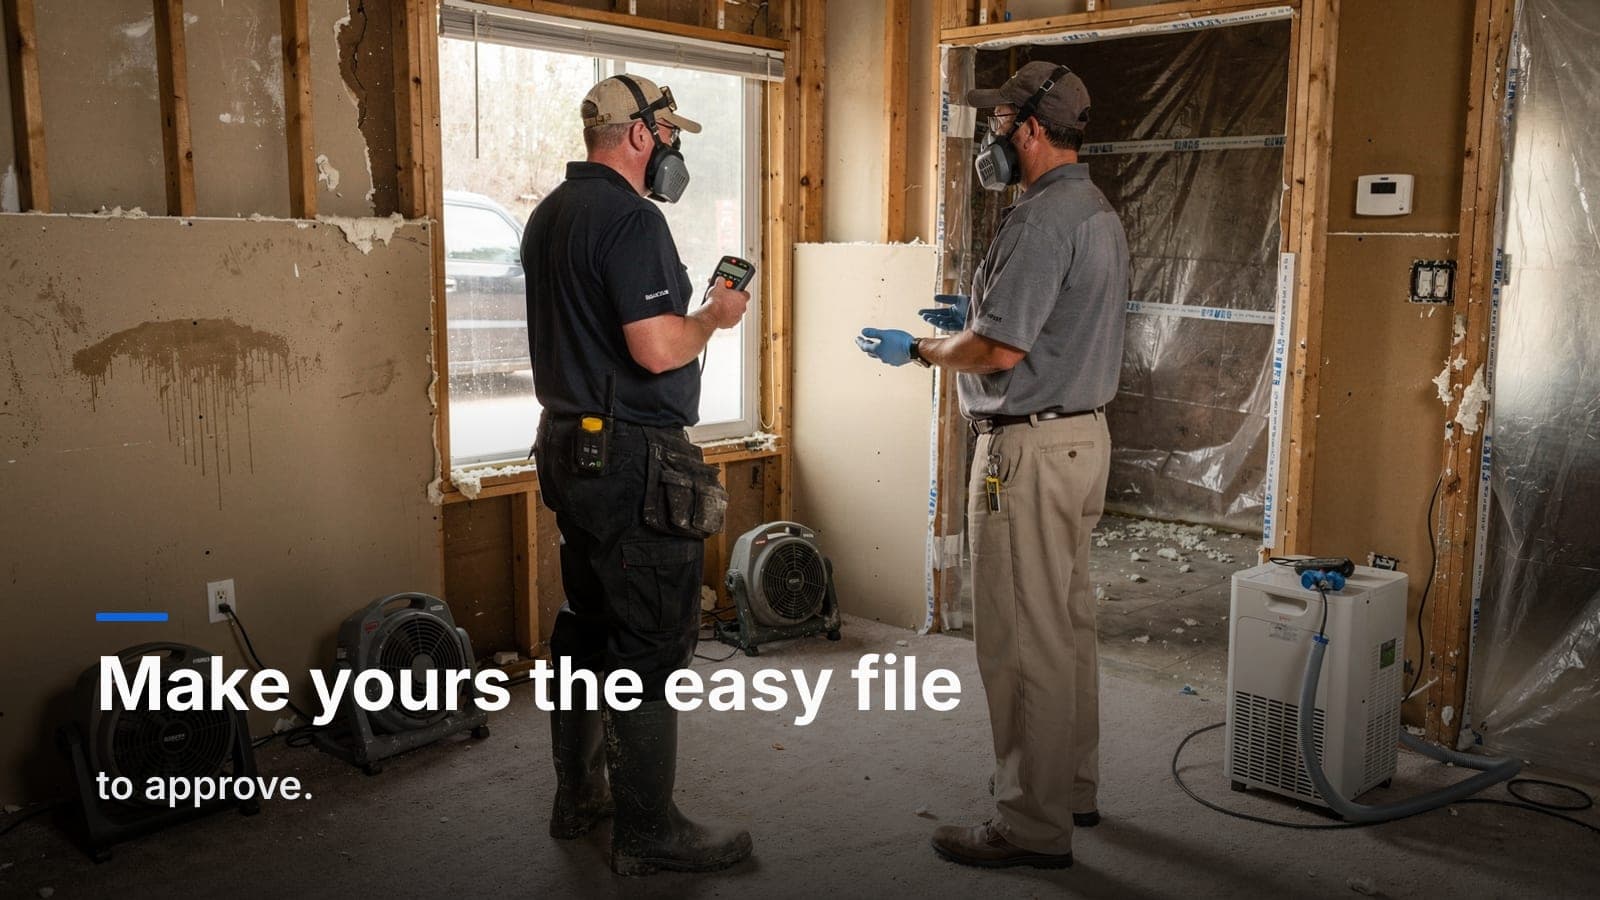
Before you unload a single air mover, walk the loss and shoot it. For each affected room:
- One or two wide establishing shots from the doorway that show the whole room and orient anyone who wasn't there.
- Detail shots of the actual damage — water lines on the wall, buckled flooring, staining, the ceiling that came down.
- The source if you can see it — the failed supply line, the overflowed fixture, the roof breach. Source drives category, and category drives your whole scope.
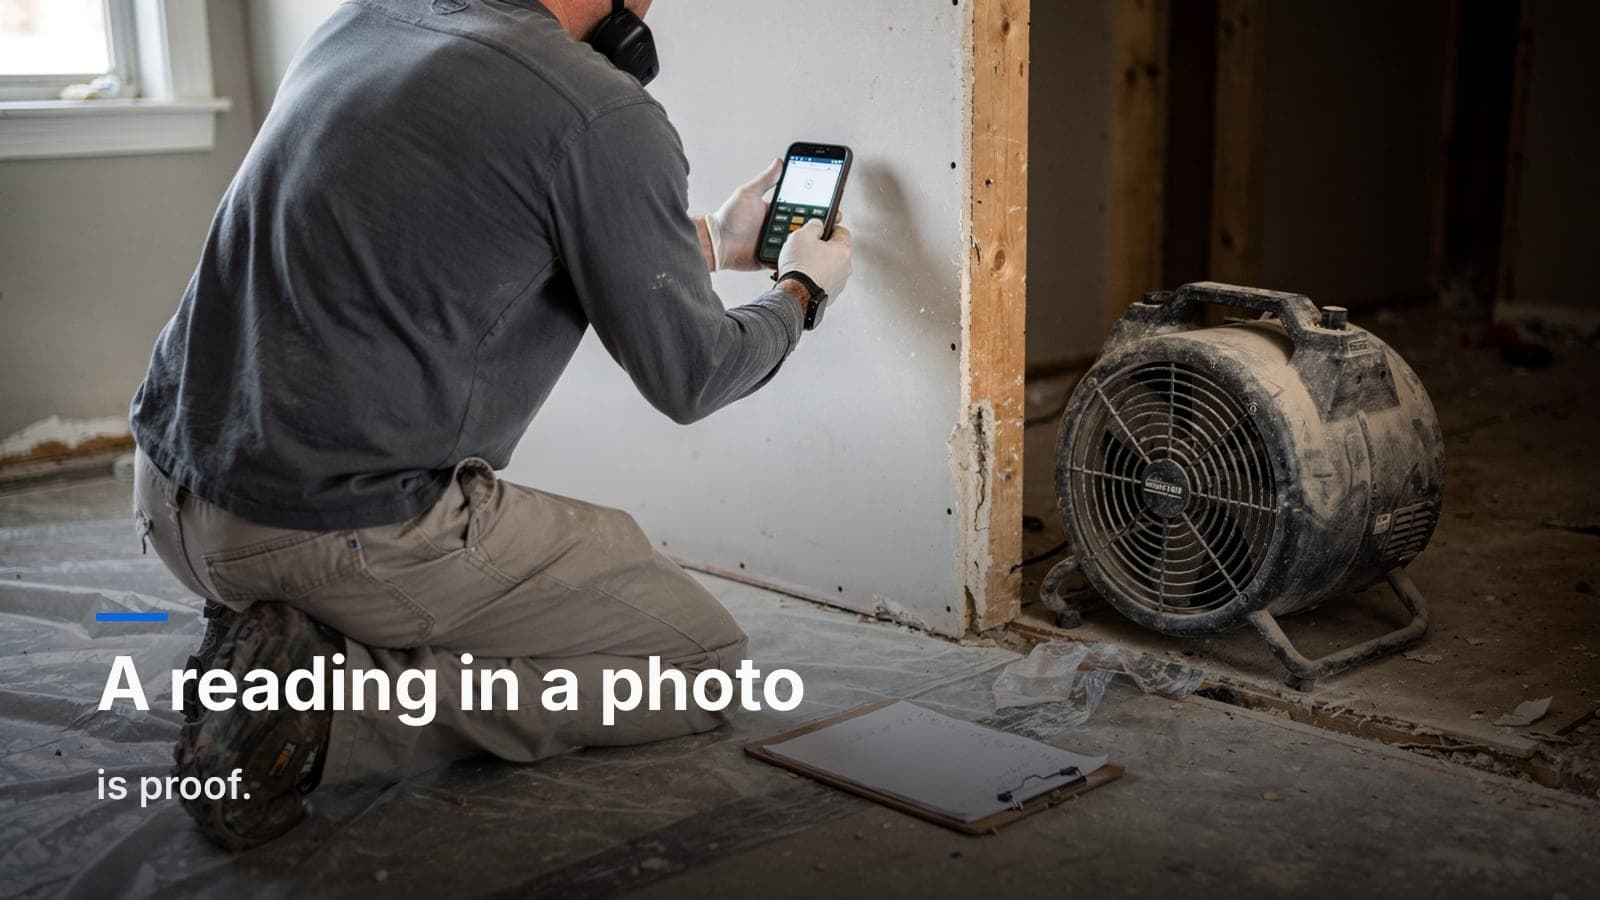
- Moisture readings on camera. Photograph the meter pressed to the material with the number visible. A reading in a log is data; a reading in a photo is proof.
During — the work as it happens
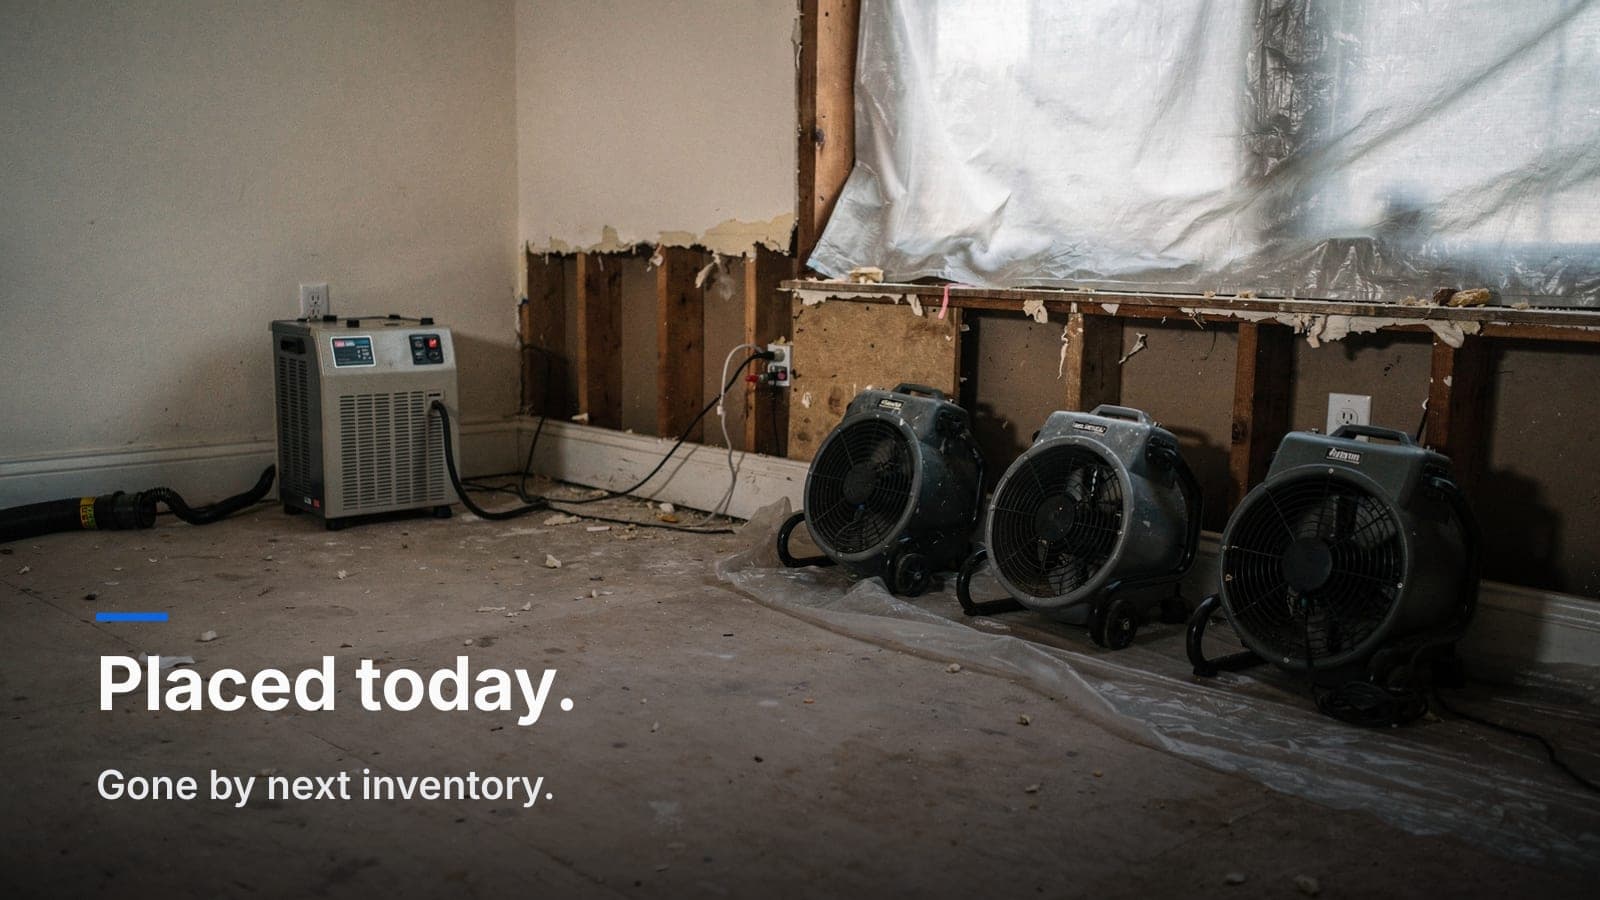
This is the phase everyone skips, and it's the one that pays. Shoot the demo as you do it: flood cuts, removed baseboard, pulled carpet and pad, bagged contents. Shoot equipment placement — air movers and dehus in position, on plastic, with the count visible. If you're logging drying daily, your photos should line up with your moisture mapping and drying logs so the story reads straight across.
During photos answer the question that kills margin: why did you do that? You cut the drywall two feet up because the reading two feet up was wet. Show both and there's no argument.
After — completion and dry standard
When you pull equipment, shoot it. Dry readings on camera, meter to material, next to the same spot you photographed wet on day one. Cleaned and treated surfaces. The room empty and ready for rebuild. After photos are what let you pull equipment and prove it instead of arguing about whether you dried too long or not long enough.
Mitigation photo standards that actually hold up
The technical side isn't complicated, but the details separate a file that flies through from one that gets kicked back.
- Get the light right. Restoration happens in dark basements and powerless houses. Use a work light or your phone's flash. A dark, grainy photo of black mold is worthless; nobody can tell what they're looking at.
- Give it scale. A tape measure, a scale ruler, or even a glove in frame tells the size of a stain or a cut. "Big" is subjective. Twenty-eight inches is not.
- Shoot wide, then tight. Always pair a context shot with the close-up. A macro of wet subfloor means nothing if nobody can tell which room it's in.
- Capture the reading, not just the number. Meter on the material, display readable, in the same frame. This is the single most convincing photo you can take on a water loss.
- Timestamp and geotag. Metadata proves when and where. It shuts down the "how do we know this was even this job" question before it's asked.
For contents and pack-out work the bar is higher still, because you're documenting condition on hundreds of individual items — there's a right way to photograph contents so the carrier doesn't push back.
The real problem: photos nobody can find
Here's where most shops fall down. The photos exist. They're on somebody's phone, or three somebodies' phones, or a shared drive named "IMG folder new final." Nobody can tie a given shot to a room, a claim number, or a date without a forensic investigation. When the adjuster asks for the wet reading in the master bath, you spend twenty minutes scrolling.
A photo that isn't attached to the job record and labeled is a photo you can't use. It doesn't matter how good it is.
This is the whole reason we built photo documentation into the job in JobWorkflowPro instead of leaving it in a camera roll. Every photo your tech shoots from the mobile app lands on the right job, threaded with the notes and documents, tagged to the claim number, carrier, and adjuster so it's already sorted when someone asks. No exporting, no renaming, no "which job was this again." The field tech shoots, and by the time you're back at the desk the file is built.
A field-ready shot list
Print this, tape it in the truck, whatever it takes to make it a reflex:
- Arrival — front of property, address visible if you can get it.
- Each affected room — wide establishing shot from the doorway.
- Damage details — water lines, buckling, staining, ceiling failure.
- Source of loss — the failed component or breach.
- Moisture readings — meter to material, number visible, every wet area.
- Demo in progress — flood cuts, removed materials, bagged debris.
- Equipment set — air movers and dehus placed, count visible.
- Daily monitoring — readings and equipment on each return trip.
- Dry standard — matching dry readings on camera.
- Completion — cleaned, treated, empty and ready.
Same discipline scales to fire and mold. Soot patterns, char lines, odor-affected materials, and cleaned surfaces all get the before/during/after treatment — the principles behind fire and smoke documentation and mold remediation documentation that holds up are the same three phases applied to a different loss type.
Frequently asked questions
How long should I keep restoration job photos?
Keep them at least as long as your state's statute of limitations for construction and insurance disputes, which often runs several years. Storing them on the job record instead of a personal phone means they don't walk out the door when a tech does.
Should the customer see the photos too?
Yes. Sharing before/during/after documentation builds trust and heads off "you didn't do that" disputes at final billing. It also helps when you need the customer to sign off on scope changes or a supplement.
Can phone photos hold up, or do I need a real camera?
Modern phone cameras are more than good enough for restoration documentation, and they timestamp and geotag automatically. The camera matters far less than the discipline — lighting, scale, matching before/after, and getting every shot onto the right job record.
What's the difference between photos for mitigation versus contents?
Mitigation photos document conditions and work on the structure — readings, cuts, drying. Contents photos document the condition and disposition of individual belongings, item by item, which is a much higher volume and needs its own inventory workflow to stay organized.
Photo documentation isn't the glamorous part of restoration, but it's where jobs get paid or held up. If you're tired of chasing photos across three phones and rebuilding files by hand, that's exactly the friction JobWorkflowPro's restoration package is built to remove — photos, readings, and drying logs all living on one job record.
Start a free trial and run your next water loss through it, or email us at sales@jobworkflowpro.com and we'll walk you through how other shops set up their documentation.